With my feed being full of Laya and Jev, it feels like some people are discovering that classifiers exist for the first time.
To get in on the excitement of needlessly complex classifiers, I present to you a text classifier where the classifier model is the image! So everything is running in your browser and fast. 🙂
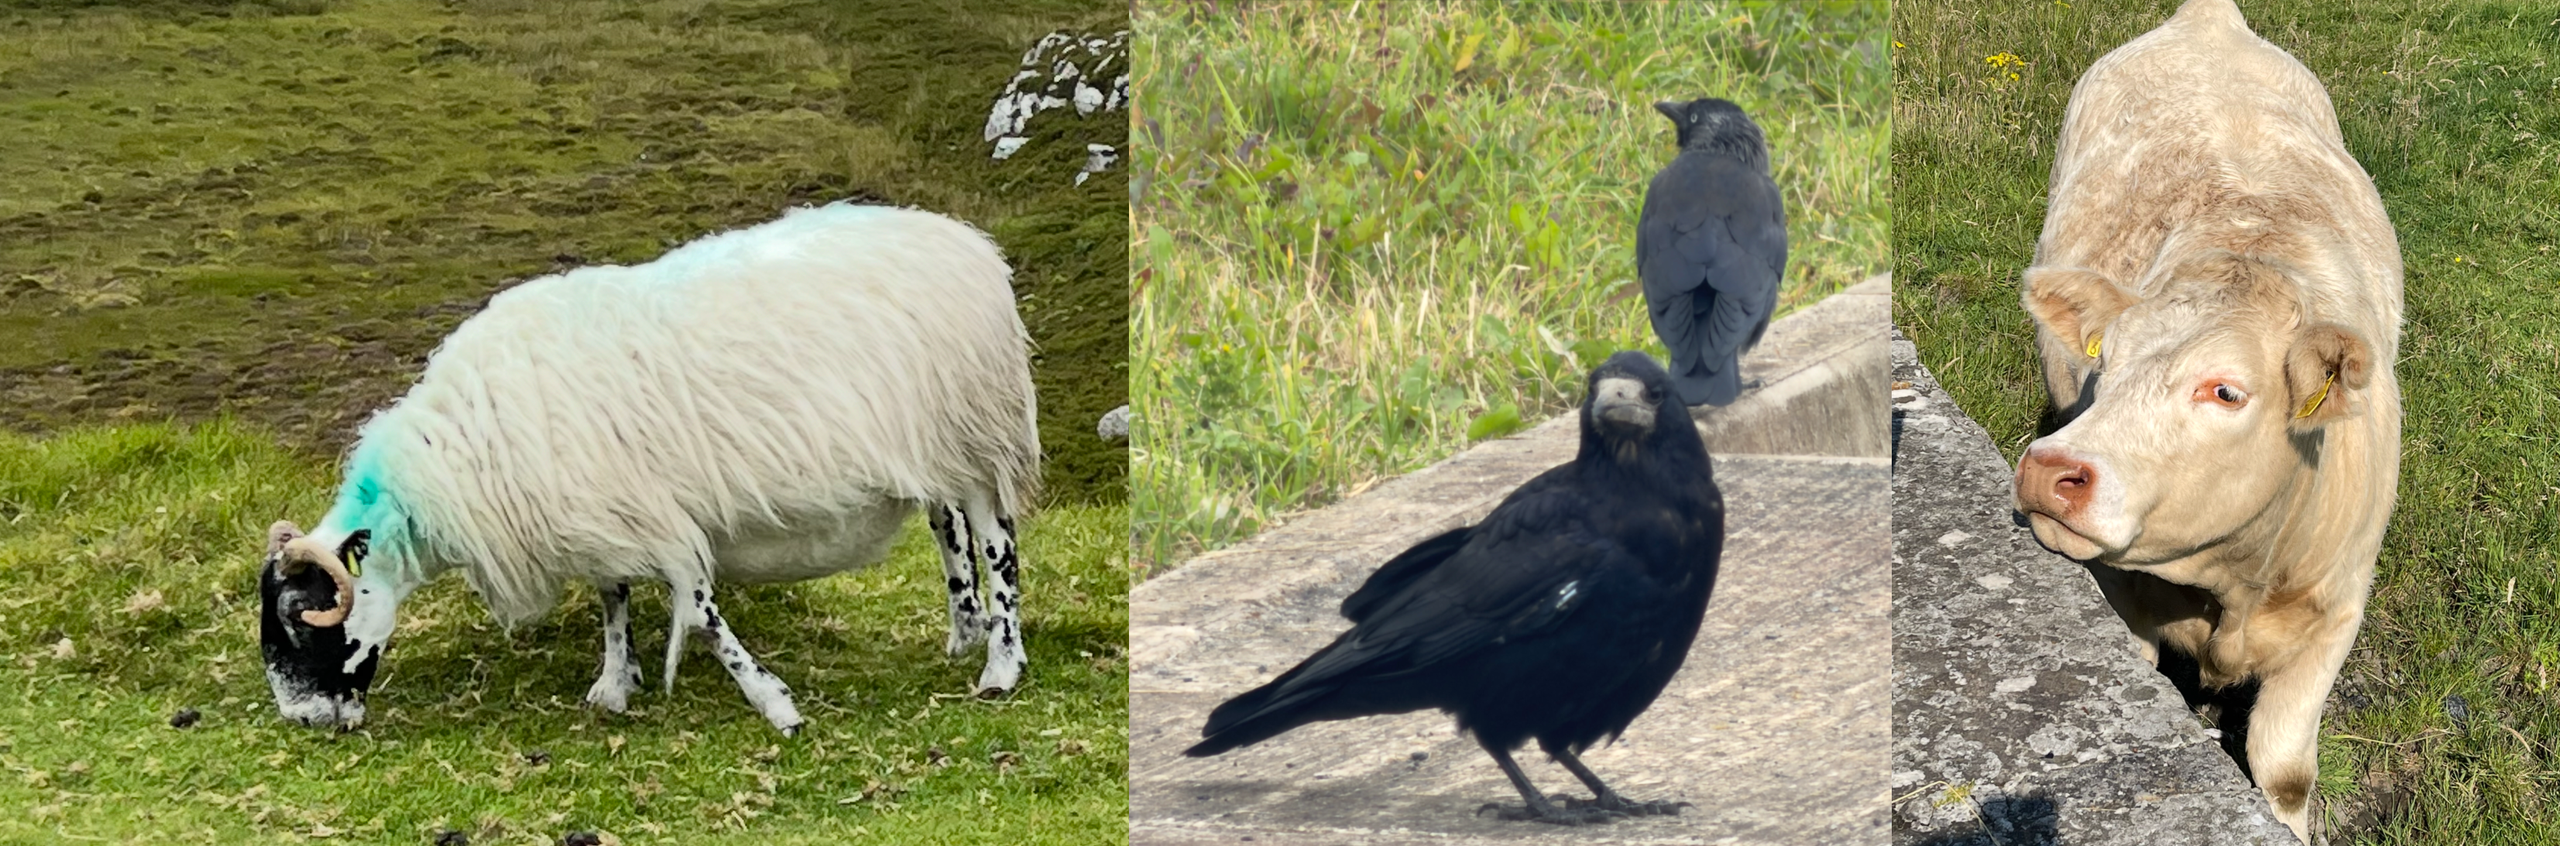
You can try it out for yourself below. For example, type “White and fluffy”.

Click here if you want to learn how it was done.
This joke took longer than I expected.
I started with a few training examples and had a local LLM create a few more. You might notice the titles look off, but I wanted to create the model with little hassle, so I used Orange (with text package), and the titles allow to pre-configure the data when being read by Orange.
With Orange you can see it’s all easy drag and drop. I find it great for simple stuff where I am lazy in creating.

Double-clicking on the “confusion matrix” lets me easily see if the model will have issues.

That’s good enough for a demo.
Double-clicking on predictions lets me check if my test set works as well.

So, all that was quick and easy!
In a bit of a pickle
I had completely forgotten that Orange saves the models in pickle format (in memory Python binary format). Thankfully I’d had experienced this issue before and wasn’t too much hassle to modify earlier code.
You just have to ensure that the sci-kit-learn module matched what Orange was using, so Python could read the file. After that converting it to a model structure was easy enough.
Hiding the model in the image
Next up was embedding the classifier into the source image. In Python again, not hard to do. Just having the model data as an image looks like this:

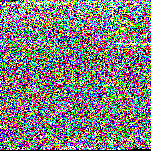
Doesn’t look very fun though. I embedded the model into the source image and ended up with this:

But if you look closely, you can clearly see the model in the very top part of the image.
I’d prefer it hidden. To do this:
- I embedded a magic number FCM1 (Fun Classifier Model 1). This way the code knows to expect a model.
- Next it tells the length of bits to read.
- Lastly, it reads in those bits and then decodes the hidden pattern.
Each pixel is made up of Red, Green, Blue (RGB) bits. If I needed to save a 1 then I would make the bit odd if it wasn’t already. If I needed to save a 0 then I would make the bit even, again if it is not already.
Example:
| Starting number | Bit to hide | Result | Change |
| 113 | 0 | 112 | -1 |
| 113 | 1 | 113 | none |
| 150 | 0 | 150 | none |
| 150 | 1 | 151 | +1 |
This makes the change invisible to the human eye. Using the +/- approach means that the bit will never exceed the 0-255 range.
JavaScript and I don’t get along
JavaScript is not my strongest area at all. So this took much longer than I care to admit. I did get a very basic example working with a text response, but it looked very bland.
To make this look nicer, I caved and got an LLM to spruce it up. I also went back and added bounding boxes for the animal that is detected.
WordPress woes
Once I put it onto WordPress it broke. Turns out WordPress reshapes the image if it is over a certain size. So I had to go back and change my source image and recreate it.
When I tried again, it was still broken. This time when the image is rendered onto the page, it is changed again. So I had to go back and change the code to reference the model-modified image directly.
Finally… Success!
You can check out all the code here.